This is a high-level overview of the process to create scratch-built track for ICR2, as of 2024.
On this page, I will take you through the essential steps but I may not go into much detail in certain places, especially where such details are already covered by other sources such as Tjerk’s excellent track editing tutorial.
Each modder will have their own way of organizing the project and automating certain tasks. Therefore, I have not included any such advice unless clearly beneficial to all modders.
I would encourage all modders to seek help from the friendly community on the CART Racing Headquarters forum or on the Race Sim Central forum for ICR2.
Gather the required tools
Refer to the list of required tools.
The N3 tools (SGE, SFE, etc.) will only work in a DOS environment (e.g. a real DOS machine, a virtual machine, or DOSBox). Some other tools, such as WinMip and 3doEd, require Windows.
Additionally, you will want an image editor that can handle palettes/colormaps, various image formats such as .PCX and .BMP. GIMP is a powerful, free application that has been used by ICR2 modders.
Prepare track layout image for tracing

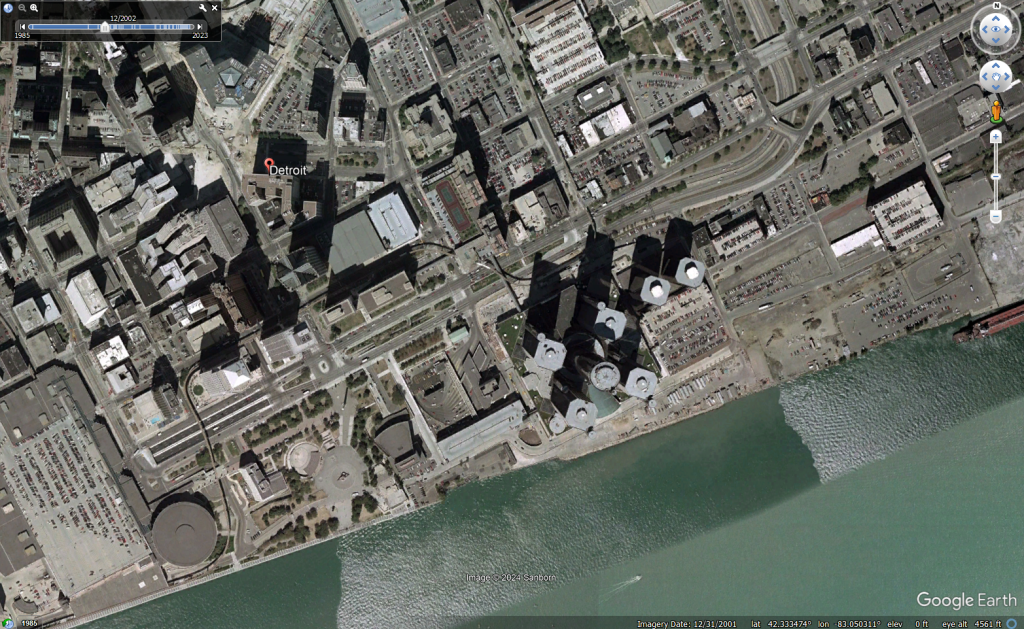
In most cases, the track creation process starts with preparing an image file with an aerial shot (overhead view) of the track, suitable for tracing. An image of 3000px width will generally work fine. After saving this file in grayscale .PCX format, I would update the following lines in the SGE.INI configuration file:
PCX = <trackname>.pcx

% this defines how many 500ths (i.e. 1/500 inches) a pixel represents
PCX PIXEL SIZE = 8790.2548

% this is the (x, y) coordinates for the location within the game world that corresponds to the pixel at the upper left of the image.
PCX UPPERLEFT = -13185382 8882552
Create the centerline and elevations in SGE

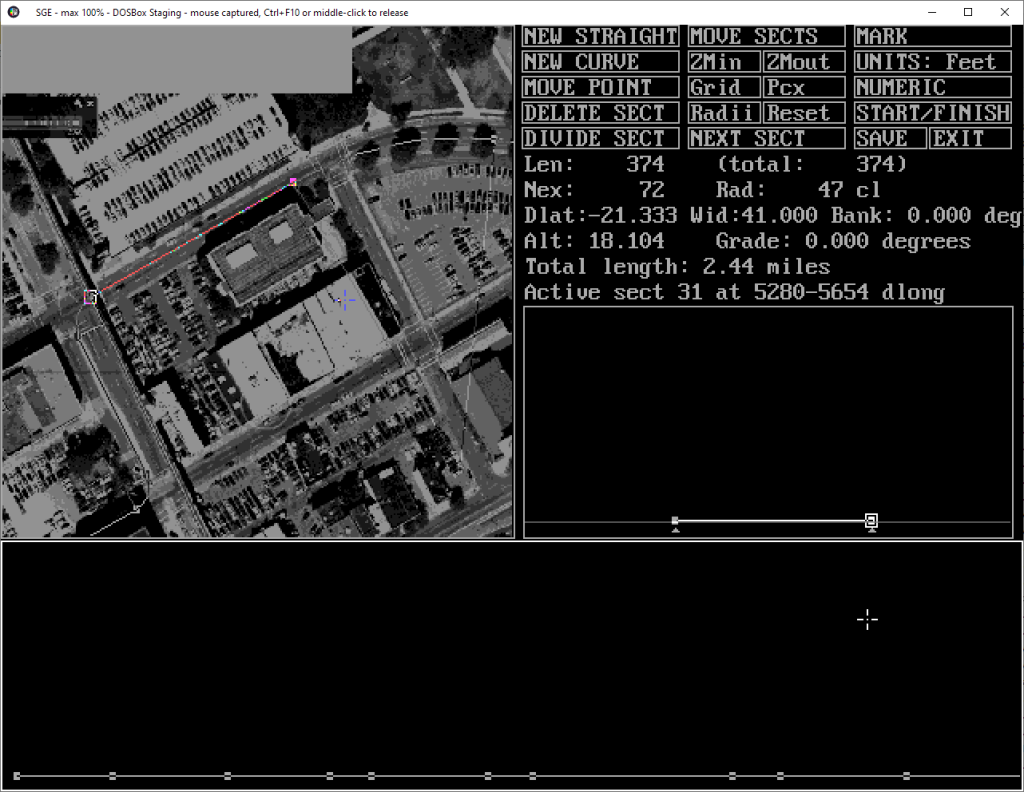
A step by step tutorial of SGE is in Tjerk’s track editing tutorial on ICR2.net (refer to Part 6). If the track image was created and scaled properly, you can create all the track sections without any further scaling (this is my recommended approach for best accuracy). SGE will create a <trackname>.sg file when you save the track within SGE.
Create the walls and track surfaces in SFE

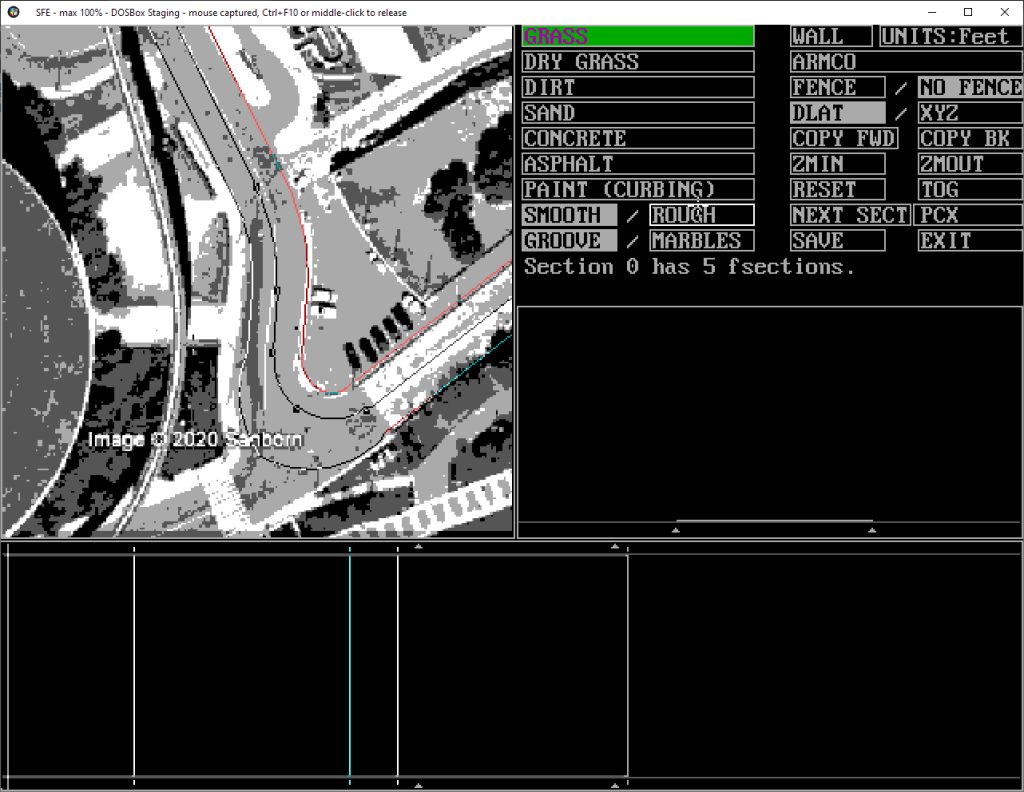
After closing the centerline loop in SGE, you can open the .SG file in SFE, and create the walls and track surfaces in SFE. Again, I refer to the step by step tutorial of SFE in Tjerk’s track editing tutorial on ICR2.net (refer to Part 7). Any updates from SFE will be saved in the same <trackname>.SG file that you opened.
Converting the .SG file to a .TRK file
Once a closed loop is made in SGE and walls and surfaces are defined in SFE, it is possible to create the .TRK file and load the track in the game after gathering all other required files.
Within your DOS emulator, run SG2TRK <trackfile>. This will create the .TRK file which is compatible with both N3 and ICR2.
Creating the .3D file
The .TRK file contains all the information necessary to create a 3D model of the track. Within a DOS emulator, run TRK23D <trackfile>. This creates human-readable code for the 3D track model in <trackfile>.3D. Right after you create the .3D file, you must also run 3D23DO to generate a NASCAR 3 .3DO file that will also be loaded into OPE.
The .3D file can be edited using either the OPE tool or a text editor, before being compiled into a final .3DO file, which is used by the game.
TRK23D creates a basic model of the track, including walls, ground, fences (if applicable), and start/finish line. Additional items such as trackside objects and track surface detail (e.g. lines and other markings on the road) can be added using OPE, which updates the .3D file.
For more details on TRK23D, refer to Tjerk’s track building tutorial.
Note that anytime you rebuild a .3D file using TRK23D, it will not bring in any of the trackside objects and track surface details (TSDs) from a previous version of the .3D file. Therefore, I would highly recommend that any trackside objects and TSDs be saved in separate files so they can be imported into OPE.
Further customization
Pitwall.txt
This is used by TRK23D to customize the height of walls (i.e. “boundaries”) when using the command line option -pit. While not required to create a track, the modding community has noted that customization is needed to better match wall heights from the original ICR2 tracks, due to TRK23D creating taller walls by default.
<trackname>.MRK
By default, TRK23D applies plain concrete or armco textures to the 3D track model. To apply custom textures to certain parts of the wall, use the .MRK file to define the textures by boundary and section. Refer to the guide to .MRK syntax. SGE will overwrite your .MRK file if you subsequently make changes to the track in SGE. Remember to back up your .MRK file if you are going back to SGE.
sunny.pcx
You may customize the color palette for a track, specifically the colors 176 to 254. Refer to my palettes page for examples.
Convert N3 track .3D file to ICR2 .3DO file
As you were editing the track in OPE, you would have created a .3DO file using the N3 3D23DO tool. This .3DO file is not compatible with ICR2 due to differences in the file format.
To create .3DO files that work with ICR2, we use Noorok’s 3D23DO tool. The tool requires Python and basic knowledge of running Python scripts.
Note: Tjerk’s tutorial describes a process to convert N3 (or N99) tracks to ICR2 using Dave Noonan’s converter. As of 2024, this is no longer the preferred approach, as Noorok’s 3D23DO tool facilitates a more streamlined workflow.
Gather all required files for ICR2 track
Refer to the list of all required files for an ICR2 track.